
U-Bend Tube For Heat Exchanger
This technical delivery standard refers to seamless austenitic, duplex, ferritic and martensitic steel, nickel alloys, titanium and titanium alloy U-bend tubes with radii from 1,5 D. Tolerances for smaller radii have to be agreed with the customer. If customer requirements differ from these values, the customer requirements replace this standard after exmination.
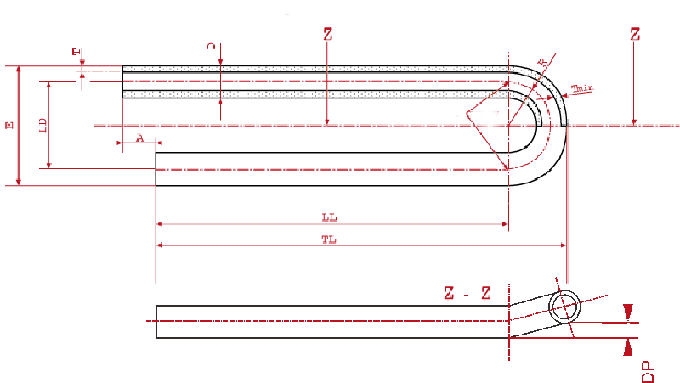 |
>>Meaning of measurements and symbols:
| A leg length difference | R centerline bend radius |
| E (2R + D): 2x radius plus outside diameter | Rmin min. radius |
| D nominal outside diameter | T wall thickness |
| D max max. outside diamater | Tmin min. wall thickness in outside bending area |
| Dmin min. outside diamater | SW smalles wall thickness of straight tube |
| LD leg length distance between points of tangency | O ovality |
| LL leg length | DP deviation from plane of bend |
| TL total length | Z section |
>>Heat treatment for bendingarea (stress relieving annealing )
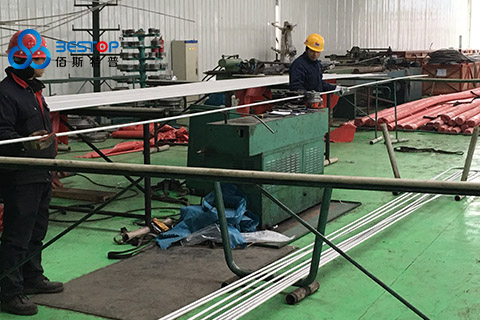
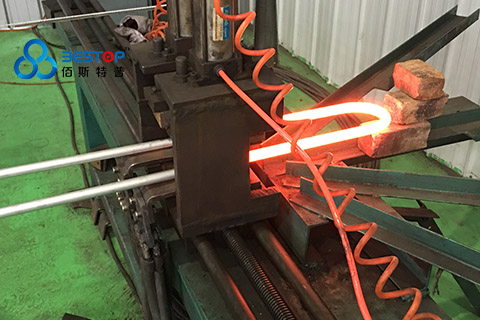
Partial heat treatment can be agreed upon on order placement indicating the corresponding radii. Austenitic U-tubes with radii > 1,3 x D usually are not subject to heat treatment acc. to AD-Merkblatt HP 7/3 after bending . The conventional practices carried out on austenitic, duplex, ferritic and martensitic steels, nickel alloys,titanium and titanium alloys are mentioned below. Any deviation or additional requirements have to be agreed between and the customer in written form. Usually the bend portion plus 305 mm (1 ft) of straight leg length are heated by natural gas annealing.
-Austenitic and duplex steels-
solution annealing Heating to a temperature between 1040°-1080°C (min. 1904°F - 1976°F). Followed by quenching in water.
-Ferritic and martensitic steels - stress relieving annealing
Rapid heating to a temperature followed by slow cooling in still air.
-Nickel alloys - stress relieving annealing
Rapid heating to a temperature beyond the material specific transformation temperature, followed by slow
cooling in still air.
>>Test Methods
-Free passage (optional)
If requested, the free passage can be proved by a ball passage test. The diameter of the ball is as follows:
Inside diameter - flattening - 2 mm
-Tightness test (optional)
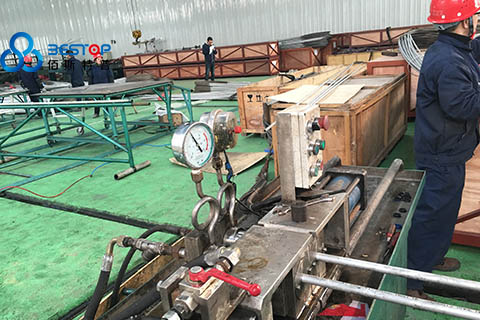
As final operation tightness test by cold water pressure testing with demineralized water can be performed
according to specification or to be agreed upon
-Tube end protection
Tube end protection can be performed by plastic cap or plugs
>>Available Material,Standard & Size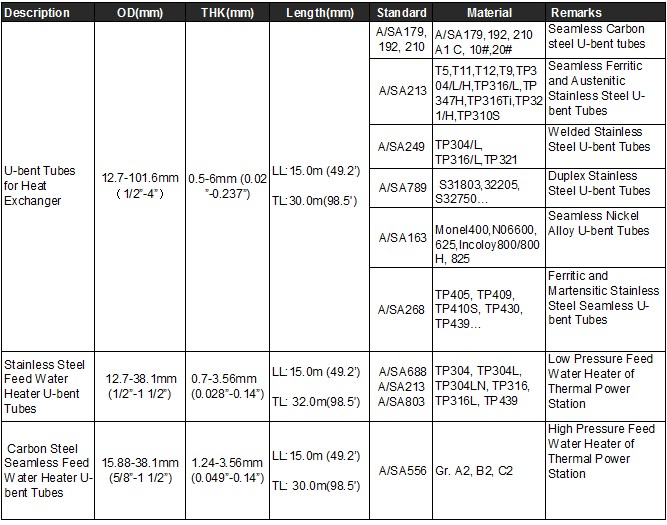
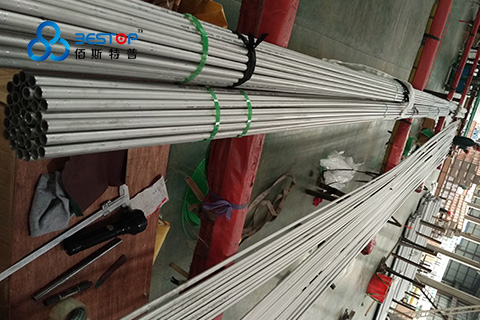
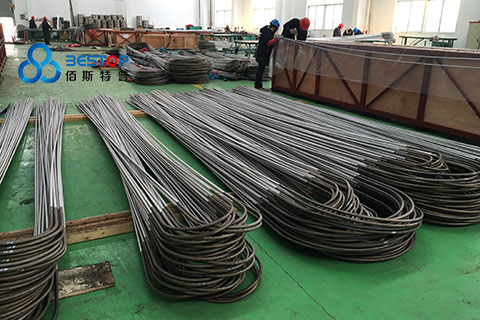
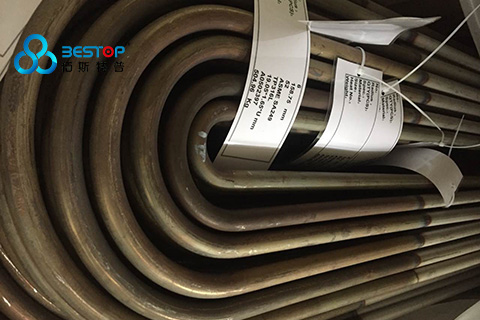
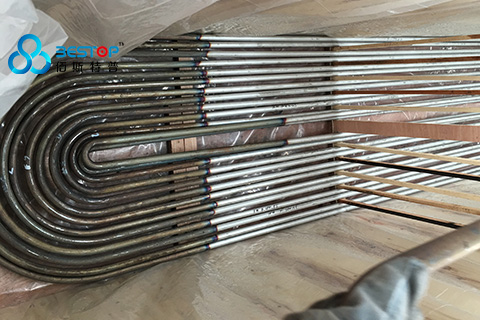
 Stainless Steel Feed Water Heater U Bend Tube Stainless Steel Feed Water Heater U Bend Tube |
 Carbon Steel Seamless Feed Water Heater U-Bend tube Carbon Steel Seamless Feed Water Heater U-Bend tube |
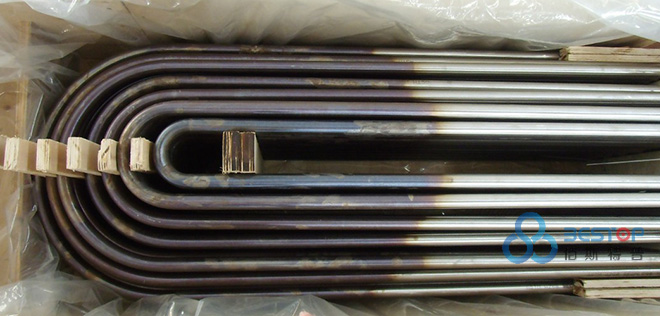
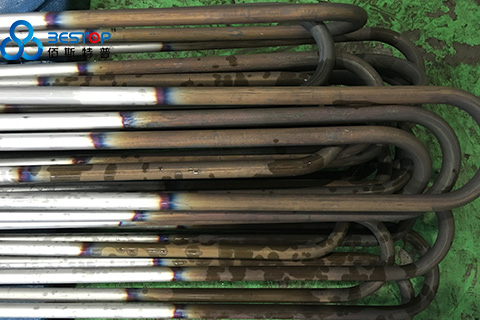
 U Bend Tube For Heat Exchanger U Bend Tube For Heat Exchanger |
 |  |
 |  |
 |  |
 |  |
 |  |


